
There’s something absolutely magical about watching pita bread puff up in the oven – those little golden pillows emerging with perfect pockets ready for stuffing. While pita originated in the Middle East, I first fell in love with homemade bread-making during my time in Paris, watching bakers at the famous Poilâne bakery work their magic with simple ingredients.
Making pita at home is surprisingly simple, and once you taste the difference between store-bought and fresh-from-your-oven pita, there’s no going back. Let me share my foolproof method that guarantees those coveted pockets every single time.
Why Make Pita Bread at Home Instead of Buying It?
Store-bought pita often lacks the soft, pillowy texture and fresh flavor of homemade versions. When you make pita at home, you control every ingredient – no preservatives, no artificial flavors, just pure, wholesome bread.
The cost savings are remarkable too. A batch of eight pitas costs less than two dollars to make, compared to four or five dollars for store-bought. Plus, you can customize the thickness and size to perfectly suit your family’s preferences.
I discovered this during a conversation with Jacques Pépin at a cooking demonstration in Portland. He mentioned how bread-making connects us to centuries of tradition, and how the French approach to bread – using minimal, quality ingredients – applies beautifully to pita making.
The Secret to Perfect Pita Pockets Every Time
The key to achieving those perfect pockets lies in three critical factors: proper dough hydration, adequate resting time, and the right oven temperature. Your oven needs to be screaming hot – at least 475°F (246°C) – to create the steam that inflates the pockets.
Rolling technique matters enormously. Roll from the center outward, maintaining even thickness throughout. Too thick, and the pockets won’t form; too thin, and they’ll tear. Aim for about ¼-inch thickness consistently.
The dough should feel slightly tacky but not sticky when properly hydrated. This creates the perfect texture for pocket formation while keeping the bread tender and flavorful.
Common Pita-Making Mistakes to Avoid
Mistake #1: opening the oven door too early. I know it’s tempting to peek, but resist! The sudden temperature drop can deflate your beautiful pockets.
Mistake #2: using old yeast. Always proof your yeast first – it should foam vigorously within five minutes. Dead yeast means flat, dense pita without proper rise.
Mistake #3: not letting the dough rest adequately. The gluten needs time to relax, making rolling easier and preventing tough, chewy results. Plan for at least one hour of rising time.
Storage Tips and Serving Suggestions
Fresh pita stays soft for up to three days stored in an airtight container at room temperature. For longer storage, wrap individually and freeze for up to three months.
These homemade pitas are incredibly versatile – stuff them with grilled vegetables and hummus for a Mediterranean feast, fill with scrambled eggs for breakfast, or cut into triangles and toast for the ultimate chip alternative.
I love serving them alongside my French-inspired ratatouille or using them as the base for individual pizzettes with herbes de Provence.
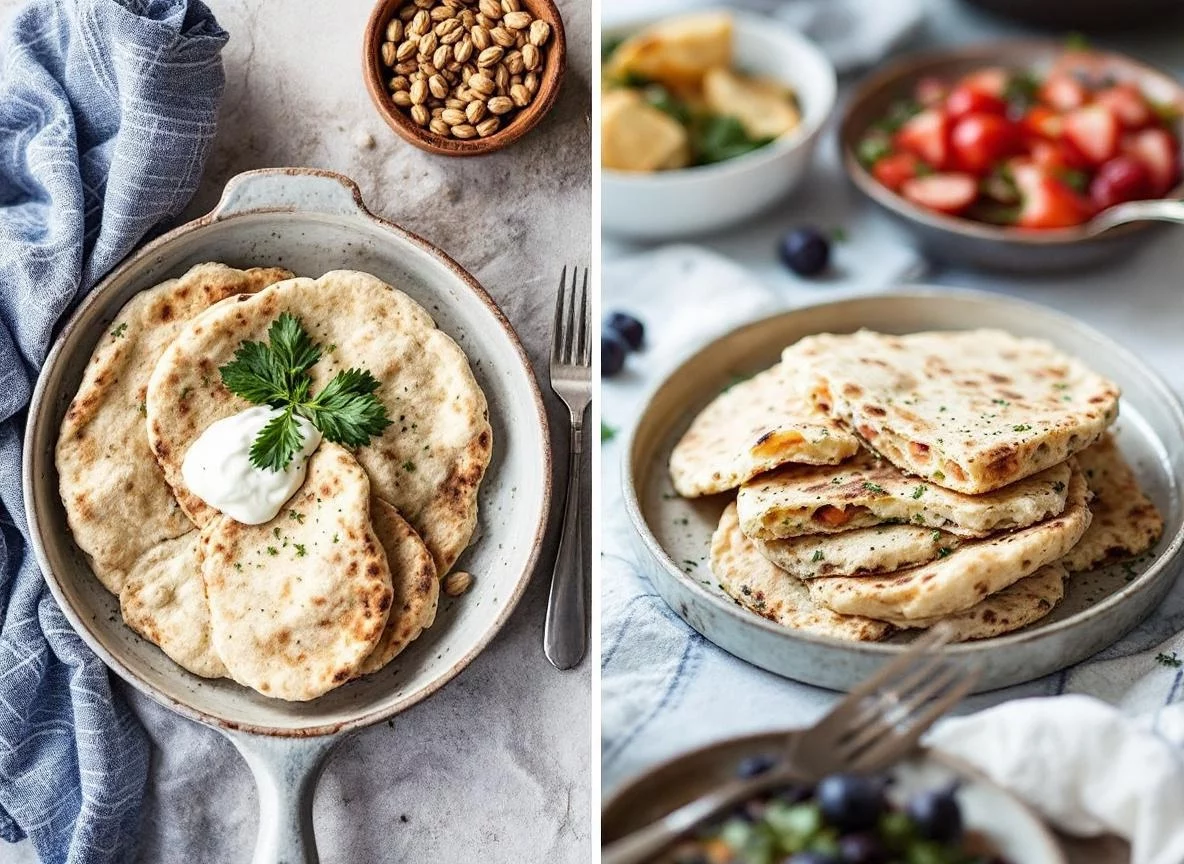
Homemade Pita Bread |
|
|
|
|
Foolproof method for making soft, pillowy homemade pita bread with perfect pockets every time. Simple ingredients and technique that guarantees golden, puffy results – far superior to store-bought versions.
|
|
|
Author: Sarah – Buffalo Bakery
Category: Bread, Flatbread, Middle Eastern
Cuisine: Middle Eastern, Mediterranean
|
|
|
Prep Time: 20 minutes Cook Time: 15 minutes |
Total Time: 1 hour 35 minutes Yield: 8 pitas |
Ingredients |
|
|
|
Instructions |
|
|
|
| 🥐 Sarah’s Pro Tip | |
|
The secret I learned from a Parisian baker is to place a small oven-safe dish of water on the bottom rack while preheating. This creates extra steam for more dramatic puffing. If your pitas don’t puff the first time, don’t worry! They’ll still taste amazing and work perfectly for wraps or dipping. |
|
| Keywords: homemade pita bread, pita recipe, pita pockets, flatbread, Middle Eastern bread, fresh pita, pita from scratch | |
There’s something deeply satisfying about pulling warm, puffy pitas from your own oven. The aroma fills your kitchen with the promise of delicious meals ahead, and the sense of accomplishment rivals any bakery creation.
I hope this recipe brings as much joy to your kitchen as it has to mine. Once you master this technique, you’ll find yourself making pita for everything from quick lunches to dinner party appetizers. Share your pita adventures with our Buffalo Bakery community – I love seeing your beautiful homemade creations!