I still remember the first time I bit into authentic ciabatta at a tiny bakery near the Panthéon in Paris. The contrast between that impossibly crispy crust and the ethereal, hole-filled crumb was a revelation that changed how I thought about bread forever.
Today, I’m sharing the secrets to creating that same magic in your own kitchen – yes, even with American all-purpose flour and a standard home oven!
Why Ciabatta’s Open Crumb Structure Makes It So Special
Ciabatta, which literally means “slipper” in Italian, gets its distinctive character from what bakers call an open crumb – those beautiful, irregular holes that make each slice look like edible lace.
Unlike dense sandwich breads, ciabatta’s high hydration dough (meaning lots of water relative to flour) creates steam pockets during baking that form these coveted air bubbles.
The result? A bread that’s incredibly light despite its rustic appearance, perfect for soaking up olive oil, supporting bruschetta toppings, or making the world’s best panini.
This technique reminds me of something Julia Child always emphasized: embrace the imperfection.
Ciabatta isn’t supposed to look pristine – those irregular shapes and rustic edges are exactly what you’re after.
The Secret to Perfect Ciabatta: It’s All About Hydration and Time
Here’s what most American home bakers get wrong about ciabatta: they’re afraid of sticky dough.
I learned this lesson the hard way during my early bread-making days in Portland, trying to add flour every time the dough felt “too wet.”
The truth is, ciabatta dough should feel almost impossibly sticky – that’s your guarantee of those gorgeous holes.
The key is using a high-hydration ratio (about 75-80% water to flour) combined with a long, slow fermentation.
This develops the gluten structure naturally without heavy kneading, which would deflate those precious air pockets we’re working so hard to create.
Why American Flour Works Perfectly for Ciabatta
Contrary to what some purists might tell you, you don’t need imported Italian flour to make exceptional ciabatta.
American bread flour actually has a higher protein content than many Italian flours, which means better gluten development and structure.
The trick is learning to work with our flour’s characteristics rather than against them.
Essential Techniques for Ciabatta Success
Making ciabatta is less about following exact measurements and more about understanding the dough’s behavior.
Here are the techniques that will make or break your loaf:
Stretch and fold method: Instead of traditional kneading, we’ll use gentle stretch and folds every 30 minutes during the first rise.
This builds gluten strength while preserving those delicate air bubbles.
Think of it as giving your dough a spa treatment rather than a workout.
Proper shaping: Ciabatta should barely be shaped at all.
We’re essentially dividing the dough and letting gravity do most of the work.
Overhandling at this stage will undo all your careful fermentation work.
Temperature Control: Your Secret Weapon
Temperature control is crucial for ciabatta success.
I keep my kitchen at around 75°F (24°C) during bulk fermentation, which takes about 3-4 hours.
If your kitchen runs cold like mine did in my old Portland apartment, create a warm spot near (not on!) your oven with just the light on.
Troubleshooting Common Ciabatta Problems
Dense, tight crumb: Usually means either insufficient hydration or over-kneading.
Remember, the dough should feel almost too wet to handle. Flat, spreading loaves: This often happens when the final proof goes too long, or the dough wasn’t developed enough during bulk fermentation.
Pale crust: Make sure your oven is fully preheated (at least 30 minutes at 450°F/230°C) and use steam during the first 15 minutes of baking.
I place a metal pan on the bottom rack and add boiling water right when the bread goes in.
The most important lesson I learned from watching French bakers work is patience.
Ciabatta can’t be rushed – those complex flavors and open texture develop slowly, rewarding bakers who respect the process.
Serving and Storage Tips for Perfect Ciabatta
Fresh ciabatta is best enjoyed within 24 hours, when that crust still has its signature crackle.
For longer storage, slice and freeze individual portions wrapped in plastic, then toast directly from frozen.
This bread transforms simple meals – try it with good olive oil and flaky salt, or use it for the most incredible grilled cheese sandwiches you’ve ever had.
Ciabatta also makes an excellent base for seasonal variations. In fall, I love adding rosemary and olive pieces to the dough. Summer calls for sun-dried tomatoes and herbs from my garden.
|
Authentic Ciabatta Bread with Open Crumb |
|
|
|
|
|
This authentic ciabatta recipe creates the perfect open crumb structure with a crispy crust and airy interior. Using high-hydration techniques, this Italian-style bread rivals any bakery loaf. |
|
| Author: Sarah Mitchell | Category: Bread |
| Cuisine: Italian | Method: Baking |
| Prep Time: 30 minutes | Cook Time: 25 minutes |
| Total Time: 5 hours (including rise time) | Yield: 2 large loaves |
|
INGREDIENTS |
|
|
|
|
INSTRUCTIONS |
|
|
|
|
🥐 Sarah’s Pro Tip |
|
|
The secret to ciabatta’s signature holes is resisting the urge to add more flour when the dough feels sticky. |
|
|
NUTRITION (per slice) |
|
|
Calories: 145 | Carbs: 28g | Protein: 5g | Fat: 2g | Fiber: 1g |
|
|
Keywords: ciabatta bread, open crumb bread, Italian bread recipe, artisan bread, high hydration bread, homemade ciabatta |
|
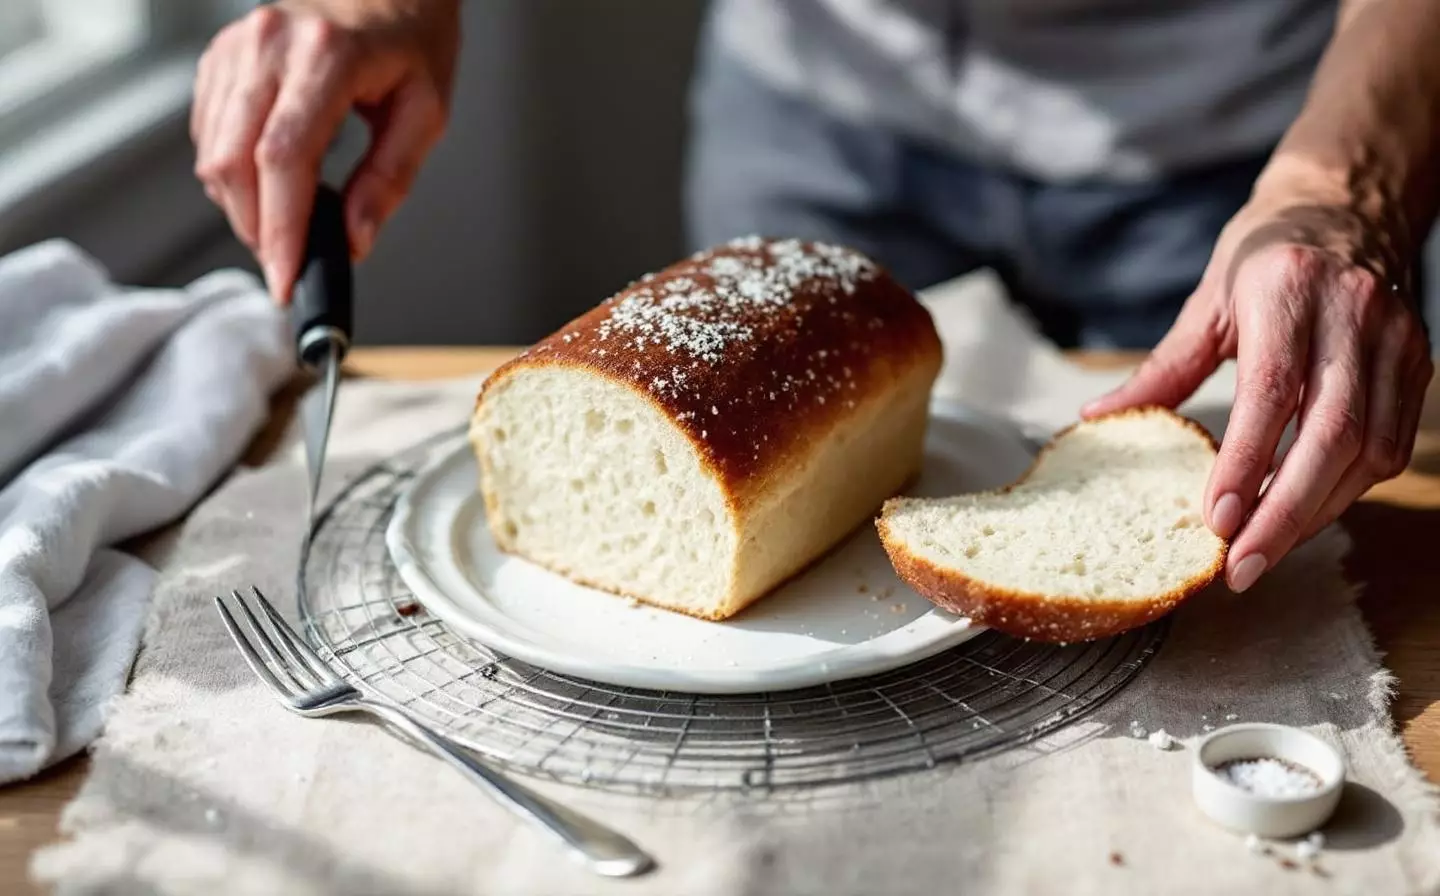
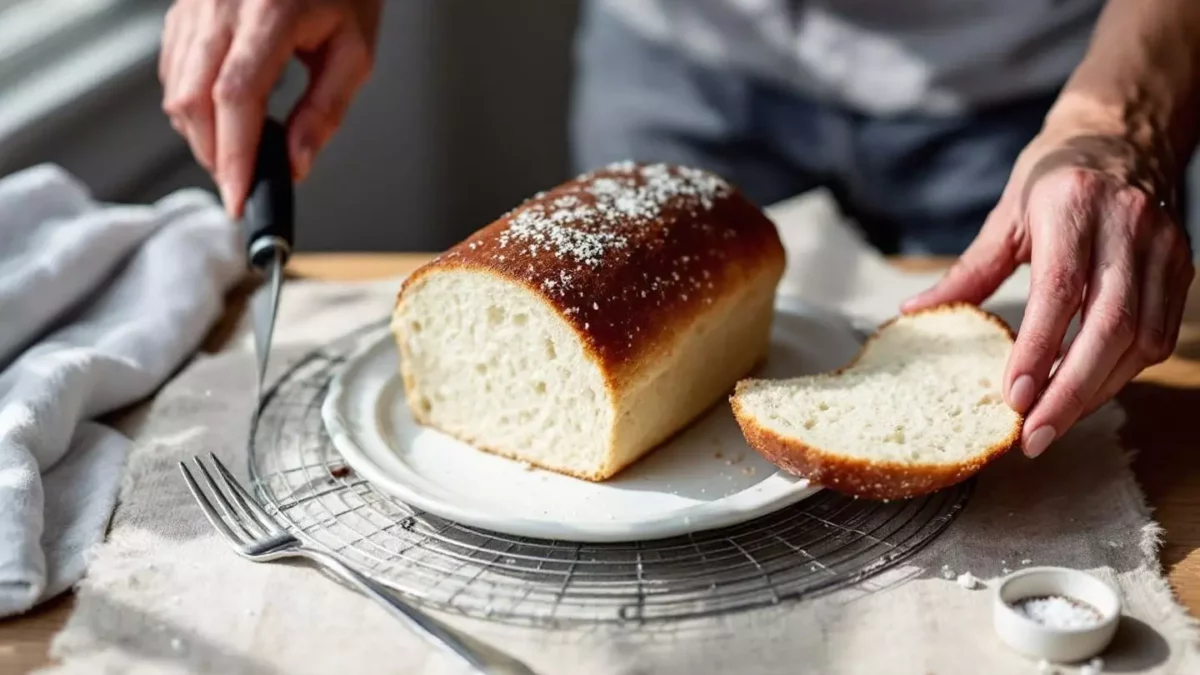
There’s something deeply satisfying about pulling your own ciabatta from the oven, hearing that telltale crackle as it cools, and seeing those perfect holes when you finally slice into it.
This isn’t just bread – it’s a connection to centuries of Italian baking tradition, made accessible for your modern American kitchen.
I’d love to see your ciabatta creations! Share your photos with the Buffalo Bakery community and let me know how your first loaves turned out.
Bon appétit, and happy baking!