There’s something almost magical about creating a sourdough starter from scratch – watching flour and water transform into a living, bubbling culture that will become the heart of countless loaves.
I’ll never forget my first attempt at making levain naturel (natural sourdough starter) in my tiny Parisian apartment kitchen, guided by the wisdom of Julia Child’s techniques and the encouragement of my neighbor, Madame Dubois, who’d been feeding her starter for over thirty years.
Today, I’m sharing everything I’ve learned about creating your own sourdough starter from scratch – no store-bought shortcuts needed, just patience, flour, water, and a little French savoir-faire.
Why Make Your Own Sourdough Starter Instead of Buying One?
Creating your own starter is like raising a pet – it becomes uniquely yours, capturing the wild yeasts and bacteria from your local environment.
Unlike commercial starters, your homemade levain will develop its own personality and flavor profile based on your kitchen’s microclimate, the flour you use, and even the water in your area.
Plus, there’s incredible satisfaction in knowing that your starter contains wild yeasts that have been naturally cultivated in your own kitchen, just like French bakers have done for centuries.
The French tradition behind natural starters
In France, sourdough starters are often passed down through generations like family heirlooms.
Paul Bocuse, the legendary French chef, often spoke about the importance of understanding fermentation as the foundation of great bread-making.
When I visited the famous Poilâne bakery on Rue du Cherche-Midi in Paris, I learned that their starter has been alive and active since 1932 – imagine the history those bubbles have witnessed!
What You’ll Need to Get Started (Spoiler: It’s Simple!)
The beauty of sourdough starter lies in its simplicity.
You only need two ingredients: flour and water. I recommend using unbleached all-purpose flour or bread flour for beginners, though whole wheat flour can give you a head start since it contains more natural yeasts.
For water, use filtered or bottled water if your tap water is heavily chlorinated, as chlorine can inhibit the growth of those precious wild yeasts we’re trying to cultivate.
Equipment essentials for starter success
You’ll need a clean glass jar (I love using a 1-quart Mason jar), a wooden spoon or plastic spatula for stirring, and a kitchen scale for accuracy.
Avoid metal containers and utensils when possible – while they won’t kill your starter, glass and wood are gentler on the developing culture.
A loose-fitting lid or cheesecloth covering allows your starter to breathe while protecting it from dust and insects.
The Day-by-Day Starter Creation Process
Creating a sourdough starter typically takes 5-7 days, and each day brings new developments in your starter’s journey to maturity.
Don’t worry if it seems inactive at first – wild yeasts need time to establish themselves and begin their fermentation dance.
I always tell my Buffalo Bakery readers that patience is your greatest ingredient during this process.
Days 1-3: the quiet beginning
During the first few days, your mixture might look pretty boring – just flour and water sitting together.
You might notice a slight alcoholic smell developing, which is completely normal as natural fermentation begins.
Some people see bubbles as early as day 2, while others don’t see action until day 4 or 5 – every starter develops at its own pace.
Days 4-7: the exciting transformation
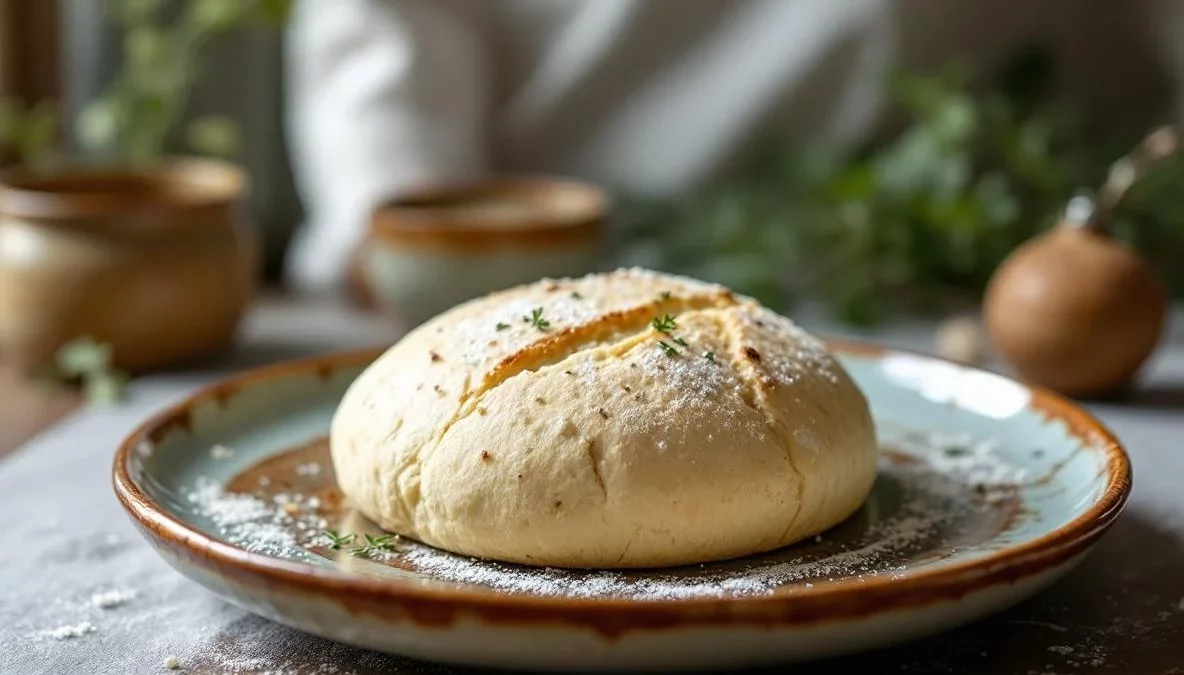
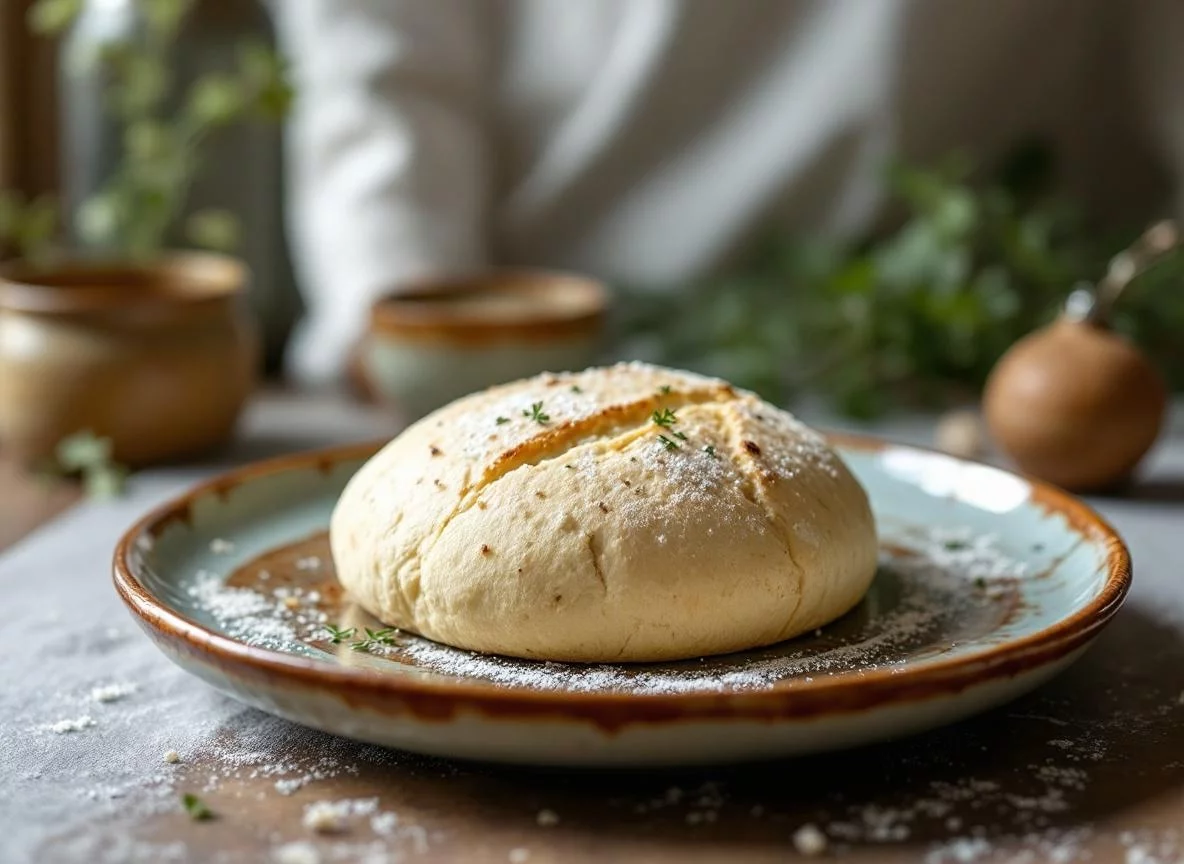
This is when the magic happens! Your starter should begin doubling in size within 4-8 hours of feeding, developing a pleasant, tangy aroma reminiscent of fresh yogurt or aged cheese.
The surface might become domed and bubbly, and you’ll hear gentle fizzing sounds – your starter is officially alive and ready for bread-making adventures.
If it passes the “float test” (a spoonful floats in water), you’re ready to bake!
Troubleshooting Common Starter Problems
Even experienced bakers encounter starter hiccups, so don’t panic if things don’t go perfectly.
Mold (fuzzy, colored growth) means you need to start over, but hooch (dark liquid on top) just means your starter is hungry and needs feeding.
If your starter smells like nail polish remover, increase feeding frequency and try using bottled water.
When your starter seems sluggish
Cold weather can slow fermentation significantly – try moving your jar to a warmer spot like the top of your refrigerator.
You can also create a proofing environment by placing your jar in an oven with just the light on (never turn on the heat!).
Remember, Julia Child always emphasized that bread-making requires adapting to your environment, not fighting against it.
| How to Make Sourdough Starter from Scratch | |
|
|
|
Create your own living sourdough starter from scratch using just flour and water. This French-inspired guide walks you through the 5-7 day process to cultivate wild yeasts for authentic artisan bread baking.
|
|
|
Author: Sarah – Buffalo Bakery
Category: Bread Making, Sourdough
Cuisine: French, Artisan
|
|
| Prep Time: | 10 minutes daily |
| Total Time: | 5-7 days |
| Yield: | 1 active sourdough starter |
| Ingredients | |
|
|
| Instructions | |
|
|
| 🥐 Sarah’s Pro Tip | |
|
Mark your jar with a rubber band at the starter’s level after feeding – this makes it easy to see when it has doubled! I learned this trick from a baker at Du Pain et des Idées in Paris, and it’s been a game-changer for knowing exactly when my starter is at peak activity. Also, don’t throw away that discarded starter – use it for pancakes, crackers, or give some to friends to start their own sourdough journey! |
|
| Keywords: sourdough starter, levain naturel, wild yeast, homemade starter, bread starter, sourdough culture, artisan bread | |
Creating your own sourdough starter is truly one of the most rewarding kitchen adventures you can embark upon.
Yes, it requires patience and daily attention for that first week, but once you see those first enthusiastic bubbles and smell that distinctive tangy aroma, you’ll understand why bakers have been nurturing these living cultures for thousands of years.
Your starter will become a beloved kitchen companion, ready to help you create everything from classic pain de campagne to fluffy pancakes.
I’d love to hear about your starter journey – share your photos and questions with our Buffalo Bakery community, and remember: every expert baker started exactly where you are now. Happy baking, and welcome to the wonderful world of wild fermentation!