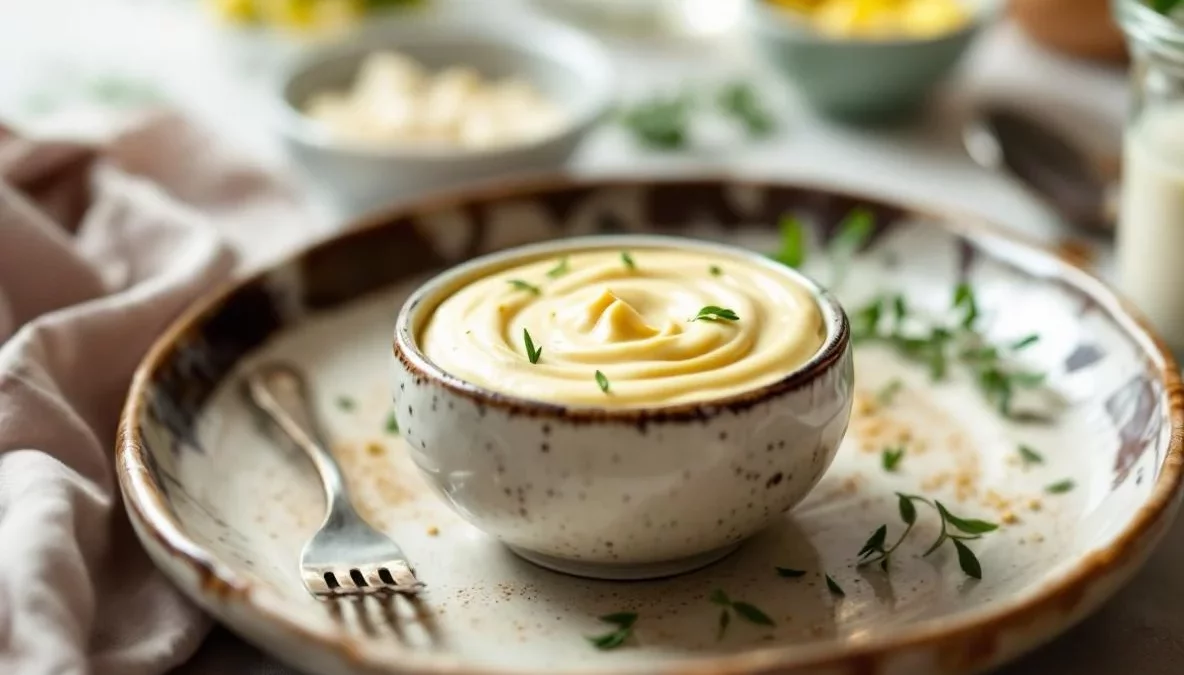
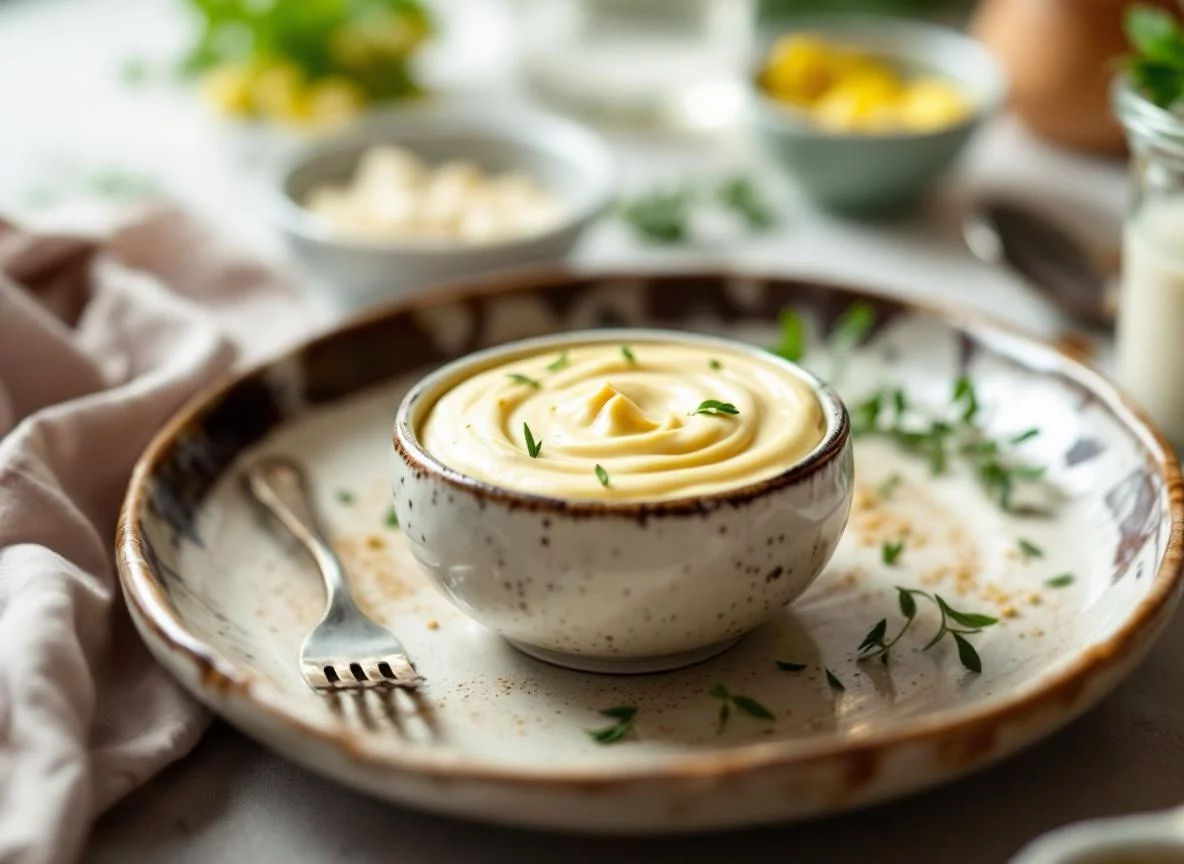
There’s something absolutely magical about authentic French aioli that puts store-bought mayo to shame. I’ll never forget my first taste at a tiny bistro near the Marché des Enfants Rouges in Paris – that silky, garlicky perfection spooned alongside fresh vegetables made me understand why the French take their condiments so seriously.
Today, I’m sharing the traditional Provençal method that transforms just a few simple ingredients into liquid gold. This isn’t just garlic mayo – it’s a centuries-old emulsion technique that every home cook should master.
What Makes Traditional French Aioli Different from Regular Mayo?
Authentic aioli is worlds apart from the jarred stuff in your fridge. The traditional Provençal version uses only egg yolks, garlic, olive oil, lemon juice, and salt – no added sugars or preservatives that you’d find in commercial mayonnaise.
The technique dates back to Roman times in southern France, where cooks would slowly whisk olive oil into crushed garlic and egg yolks by hand. Julia Child famously called it one of the most satisfying sauces to make from scratch in her cookbook Mastering the Art of French Cooking.
The key difference is the slow emulsification process. Unlike regular mayo that’s whipped up quickly, traditional aioli requires patience – you’re essentially creating a stable emulsion drop by drop, which gives it that luxurious, almost custard-like texture.
Why Your Aioli Might Be Breaking (And How to Fix It)
I learned this lesson the hard way during my first attempt at Jacques Pépin’s technique. I was so eager to finish that I added the oil too quickly, and watched in horror as my beautiful emulsion turned into a greasy, separated mess.
The most common mistake is adding oil too fast. Temperature matters too – if your ingredients are too cold, the emulsion won’t form properly. Room temperature egg yolks are crucial for success.
If your aioli breaks, don’t panic! Start with a fresh egg yolk in a clean bowl, then slowly whisk in the broken mixture. It’s like giving your emulsion a second chance to come together properly.
Essential Tips for Perfect French Aioli Every Time
Use the best quality extra virgin olive oil you can find – it’s the star ingredient here. I prefer a mild, fruity olive oil rather than something too peppery, which can overwhelm the garlic.
Fresh garlic is non-negotiable. Crush it with coarse sea salt using the flat side of your knife to create a smooth paste. This traditional technique, called ail pilé, releases the garlic’s oils more effectively than chopping.
Make sure your bowl won’t slide around – place a damp kitchen towel underneath for stability. Trust me, you’ll need both hands free for the whisking process!
Serving Suggestions and Storage Tips
French aioli is traditionally served with Le Grand Aïoli – a feast of boiled vegetables, hard-boiled eggs, and salt cod. But it’s equally divine with grilled fish, roasted vegetables, or as a sophisticated sandwich spread.
Fresh aioli keeps in the refrigerator for up to three days. The garlic flavor will intensify over time, so taste and adjust if needed. Never leave it at room temperature for more than two hours.
For a lighter version, you can substitute half the olive oil with neutral vegetable oil. During summer, I love adding fresh herbs like basil or tarragon for a seasonal twist.
Traditional French Aioli |
|
|
|
|
The traditional Provençal method for making silky, garlicky French aioli from scratch. A centuries-old emulsion technique using just egg yolks, garlic, olive oil, and lemon juice – worlds apart from store-bought mayo and the perfect accompaniment to vegetables, grilled fish, and so much more.
|
|
|
Author: Sarah – Buffalo Bakery
Category: Condiment, Sauce, French Technique
Cuisine: French, Provençal
|
|
|
Prep Time: 15 minutes Cook Time: 0 minutes |
Total Time: 15 minutes Yield: Serves 6-8 |
Ingredients |
|
|
|
Instructions |
|
|
|
| 🥐 Sarah’s Pro Tip | |
|
If you’re nervous about the emulsion breaking, start with just 2 egg yolks and ¾ cup oil – it’s more forgiving for beginners. Once you master the technique, you can scale up with confidence. For the most authentic flavor, let your finished aioli rest for 30 minutes before serving. This allows the garlic to mellow and all the flavors to marry beautifully, just like they do in those charming Provençal bistros. |
|
|
Nutrition Information (per tablespoon):
Calories: 102 | Protein: 1g | Fat: 11g | Carbs: 0g | Sugar: 0g |
|
| Keywords: French aioli, traditional aioli, homemade aioli, garlic aioli, Provençal sauce, aioli recipe, Le Grand Aïoli, garlic mayo | |
Making traditional French aioli is one of those timeless kitchen skills that connects us to generations of French cooks. Yes, it requires patience and a steady hand, but the reward is a sauce so much more complex and satisfying than anything from a jar.
I hope you’ll give this authentic method a try and experience that same “aha!” moment I had in Paris. Share your aioli adventures with our Buffalo Bakery community – I love hearing about your French cooking successes!